Online Magazine
& Cooking Club

In This Issue
Feature Articles
Making heads & tails of
the squash kingdom
6 Tricks to Take the Bland
out of Summer Squash
Zucchini Overload:
how to turn over-
into advantage
5 Fast Ways to Cook Squash +
5 Simple Ways to Dress It Up
In Every Issue
Why We Love It
Top 10 Questions about Squash
The Green Kitchen
Picky Eater Tips
Money Saving Tricks
News from the Farm


Cooking School
Cooking Classes:
Greek Potato Salad
Zucchini Salad Americana
Buying the Best
Storing for Flavor
Prepping Tricks & Tips
Cooking Basics
Recipes, Recipes, Recipes
14 Easy, Creative Dishes Using Summer Squash


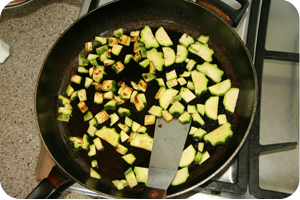
Continue cooking and stirring until squash is browned on most sides. Don’t worry if every side isn’t perfectly browned, just taste and make sure it is tender throughout.

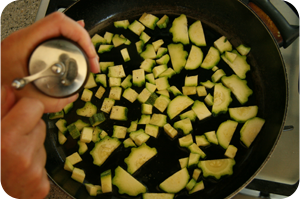
Remove cooked squash to a bowl, being careful not to overcook, which makes squash mushy.
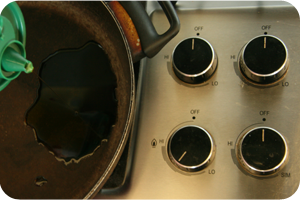
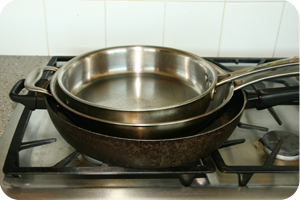
Start with the right pan: Big and shallow are the key features.
Pour in oil and heat over medium or medium-
Wait until oil is “hot but not smoking,” i.e., it will become very thin and look shimmery from the side. A piece of squash will sizzle quite briskly when dropped in.
Fight the temptation to stir continually or squash won’t brown. Allow squash to cook 2-
Raise heat slightly if the addition of squash cools pan so squash is no longer sizzling briskly.
Soup pots and sauce pans are not qualified for this job.
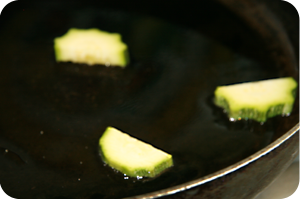

Add squash, but only as much as can be spread evenly across bottom of pan, with a little space around each piece. (See notes to the right.)
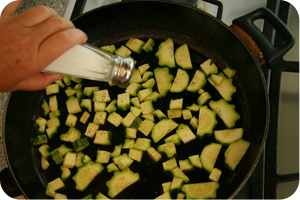
Season. Remember that, being low in the flavor department, summer squash can use a little more salt and pepper than usual.
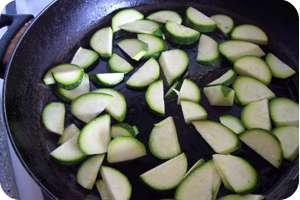
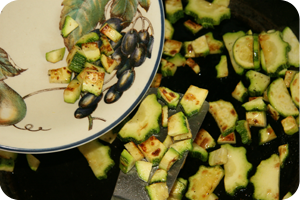

First: Give ‘Em Space!
For squash to brown, each piece needs its own space. Crowd them into a pan and the water content becomes overwhelming. The result: a big, watery stew. Keep the pieces separate, however, and the water trapped inside can escape up and out of the pan. The squash can then brown nicely and you get surprisingly tasty nuggets.
Second:
Brown in Batches
The first part of this article talked about the large amounts of raw squash required to end up with a worthwhile amount of cooked squash. Now you learn that each of those raw pieces needs to be given its own space in the cooking pan. Who has a pan big enough for that?
No one, actually, which is why browning is done in batches. A half or third of the squash is browned then removed to a bowl, then the next half or third is browned and so on. This sounds time-
Once it is all browned and removed to a bowl, the squash is often left there, being returned to the main dish for just the last few minutes of the cooking time to avoid overcooking.


© 2009 Culinary Concepts, Inc., Boulder CO


Next Page
Prev Page